Angular code is decoupled from the underlying runtime environment, so in theory our code could run on any type of host. In this post we will show how to use NativeScript in combination with Angular to create a native app.
We have already showed how to execute Angular on the server and in a web worker.
Now it's time to see if we can get our code to run in a native mobile environment as well.
What is NativeScript?
NativeScript is a third party framework created to map Angular code to native code running on IOS and Android devices.
Normally when we write Angular code we often target the browser, but as long as we don't reference browser specific apis, our code is not in any way locked into a browser environment. As I mentioned earlier NativeScript is just one example where we benefit from this abstraction from the runtime environment.
We have only just started looking at NativeScript, but was pleasantly surprised to see how easy it is to port Angular code to native device code. The best part is that we only have to worry about writing our Angular code. NativeScript and its tooling will take care of the conversion to native device code.
To put the theory to the test we decided to port two sample components using NativeScript. We wanted to move beyond a simple “Hello World” app, so we decided to pick components where we use both RxJs and timers.
The code and concepts port over nicely, but perhaps the biggest adjustment is getting used to mobile view terminology. In the native world we can no longer write standard html views, so we have to get used to new ui elements and layout schemes. In some ways the NativeScript layout approach reminded me a bit of Layout Managers in Java Swing.
Anyway, let's take a look at the sample components.
RxJs
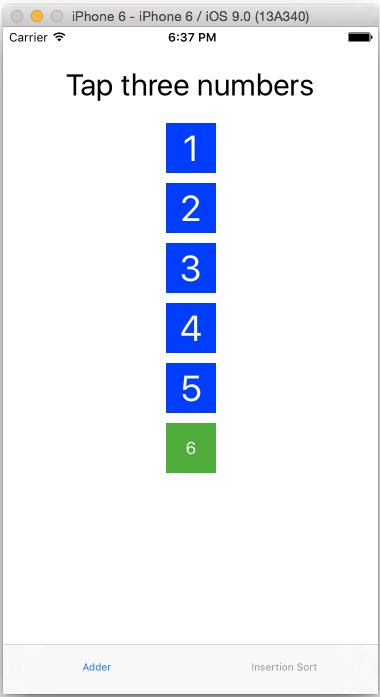
The first component is a simple adder component where the user taps three numbers and the component spits out the sum of the numbers. On the surface this is a trivial component to write, but it's done using RxJs to prove that we can still benefit from Rx even in the native world.
As you can see from the code the component part is pretty familiar to anyone who's ever written an Angular application.
The only exception is of course the template where we have to get used to new elements like Label and Button. We also use 'tap' instead of click. But as you can see we can still use RxJs the same way we use it on the web. Change detection is also completely transparent, so the ui will update just like it would on the web.
Timer
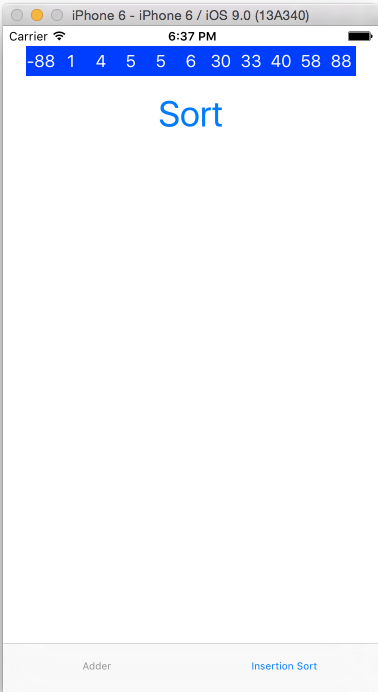
The second component is a simple sorting component where we sort a list, but use a timer to delay the sorting updates as the algorithm shuffles through the data. The point here is to show an example where we have to make a few minor adjustments to the code to make it work on “native”.
In my original sample we used setTimeout. SetTimeout is an example of an api specific to the browser, so to make it work we have to make a slight change. Luckily the change is trivial since all we have to do is import a timer from a NativeScript module.
As we can see from the sorting code below, updating the sorting algorithm to use the new timer is trivial.
In the component we inject the sorting service and call it to sort the provided list of integers.
Notice in this sample we are using templateUrl instead of an inline template. Unsurprisingly the template url points to a view file where our template is defined. That said, we are not using standard html even though the extension of the template file is .html.
We won't spend too much time on the template, but notice the StackLayout which is an example of a layout scheme in NativeScript.
Resources
I am not spending a lot of time explaining how to setup a NativeScript project since the NativeScript team has already provided a lot of good examples here. I did however post my sample code on Github in case you are interested in taking a look.
Simulator
To test my code I loaded it up in the IOS simulator in a tabbed view.
Here are two screenshots of the final application:

